Proper agency configuration is a critical first step during onboarding. Completing these setup items ensures accurate branding, proper email delivery, secure communication, and clean operational workflows from day one.
This guide outlines the standard Agency Configuration process that should be completed during initial onboarding.
Best Practice
Complete Agency Configuration before entering live insureds or policies. Proper setup reduces rework, prevents email delivery issues, and ensures clean reporting and workflow automation moving forward
1. Agency Setup
Navigate to your Agency Profile and click the Configure button.
Verify and complete the following:
Basic Information
Agency Name
Upload Agency Logo (if available)
Primary Contact Name (typically the Agency Owner)
Mailing Address
Physical Address
If the same as mailing, check the box to use the agency address.
Email Configuration
Primary Email Address
Used for sensitive communications (such as export passwords).
Avoid using general inboxes (especially for larger agencies).
Use a monitored administrative email when possible.
Send Emails From Section
Add any email addresses used for:
Notifications
Invoices
Certificates
This is where general inbox emails should be entered instead of the Primary Email field.
Agency Billing Email
If billing statements should go to a different email, enter it here.

2. Email Signature Templates
Navigate to Email Templates and configure:
Email Template
New User Account Email Template
Add your agency email signature to both templates to ensure consistent branding across system-generated communications.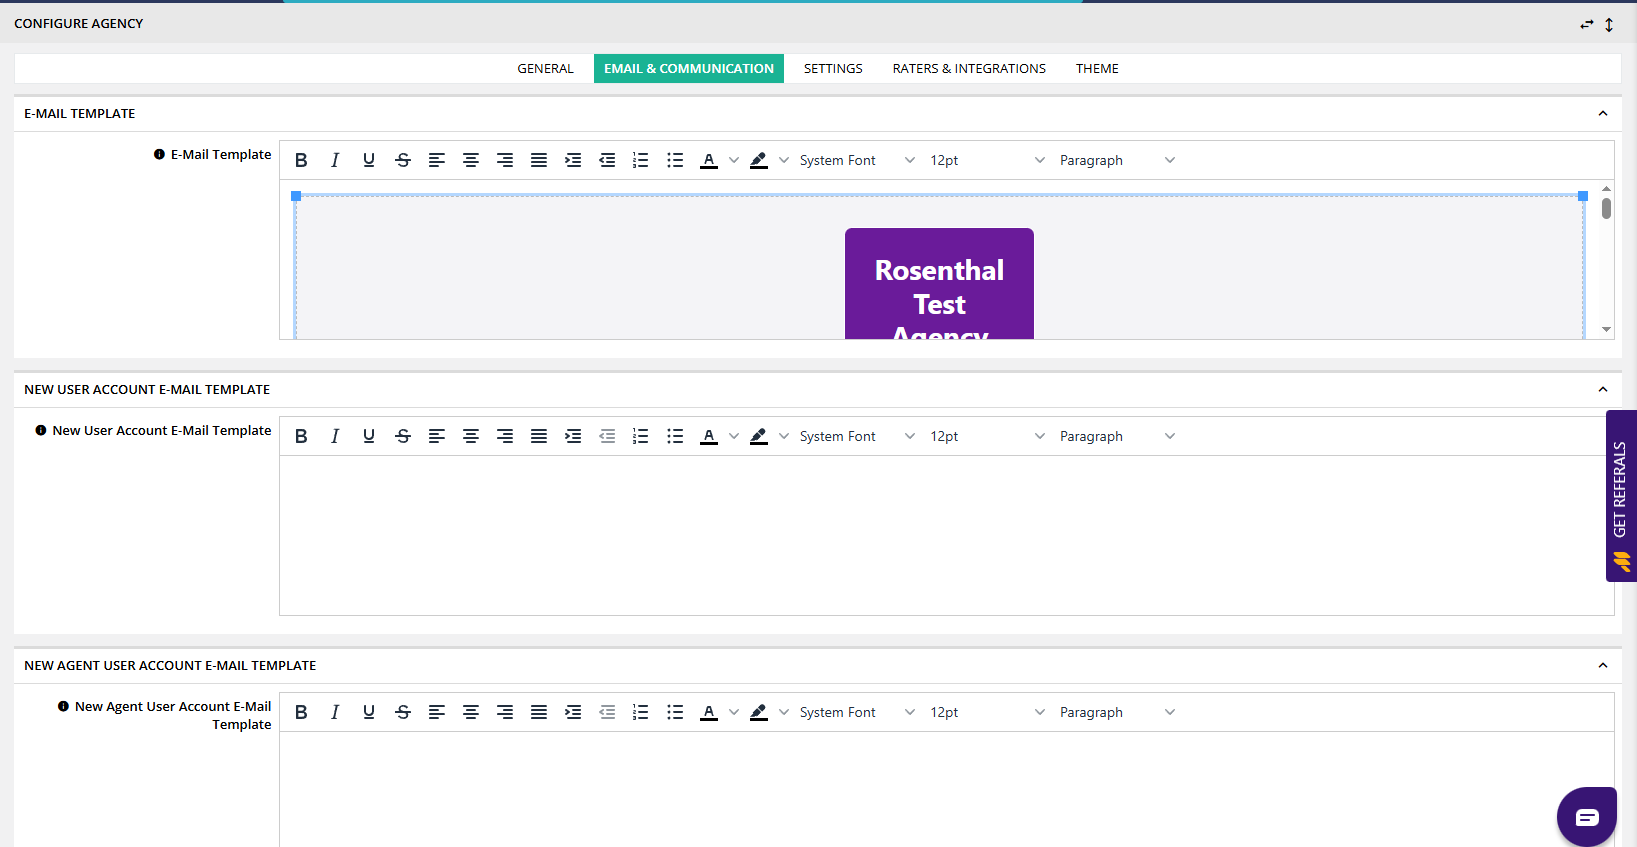
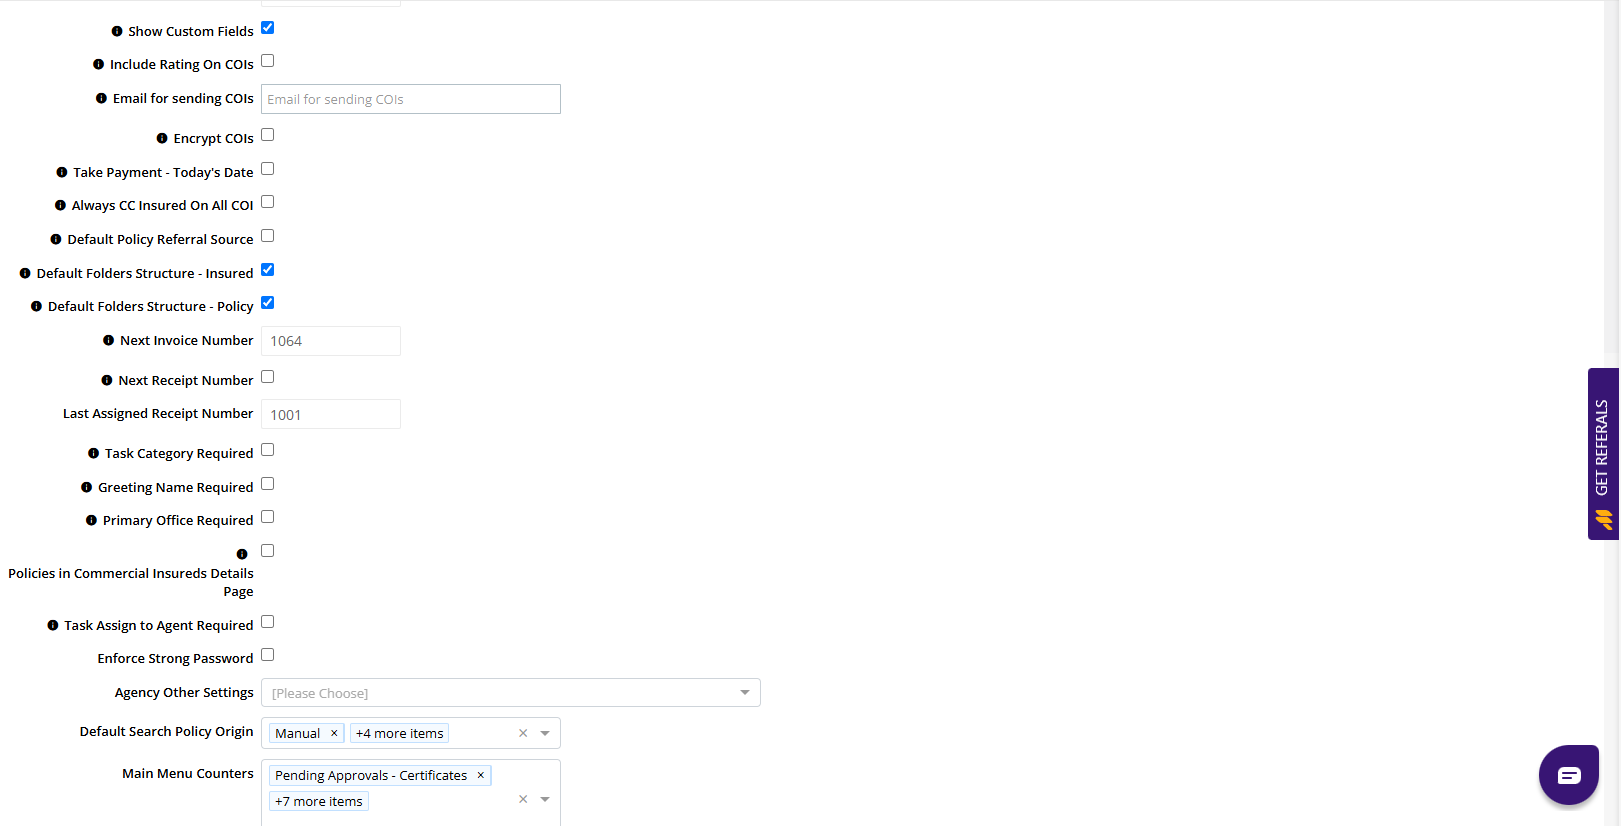
3. Additional Configuration Settings
Review and confirm the following:
Certificates of Insurance (COIs)
Add email for sending COIs (if applicable).
Review the Always CC Insured On All COIs option.
Confirm Spillover DOO to Acord101 is checked.
Session Timeout
Inform the agency:
The system will log users out after 30 minutes of inactivity.
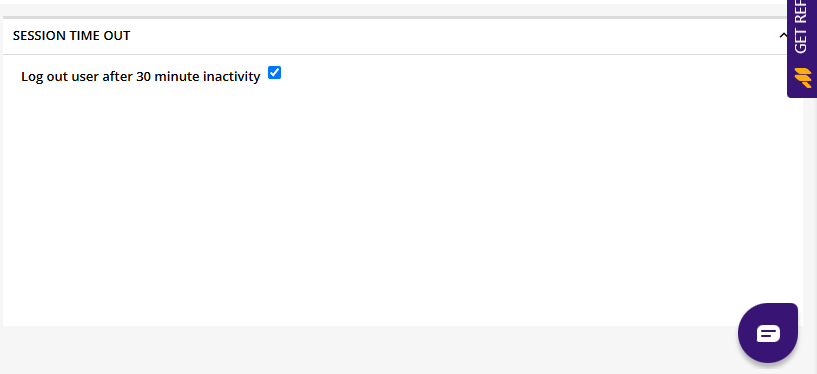
Unsaved data may be lost.
Encourage frequent saving when entering detailed records.
5. Add at Least One Signature
Navigate to the Signature section and:
Add at least one authorized signature.
Signatures are required for:
Documents
Certificates
Certain forms
This ensures documents can be issued properly.
6. Accessing Help & Resources
Left Navigation Resourses
Momentum University
Support Center
Submit a Support Ticket
Training & Support menu in the primary navigation

Was this article helpful?
That’s Great!
Thank you for your feedback
Sorry! We couldn't be helpful
Thank you for your feedback
Feedback sent
We appreciate your effort and will try to fix the article