This article explains how to manually add carriers or import a CSV file using the Import Tool.
How to Add Carriers: Two Methods
You can add carriers using one of two methods:
- Manual Entry
- Using the Import Tool
Manual Entry Method
-
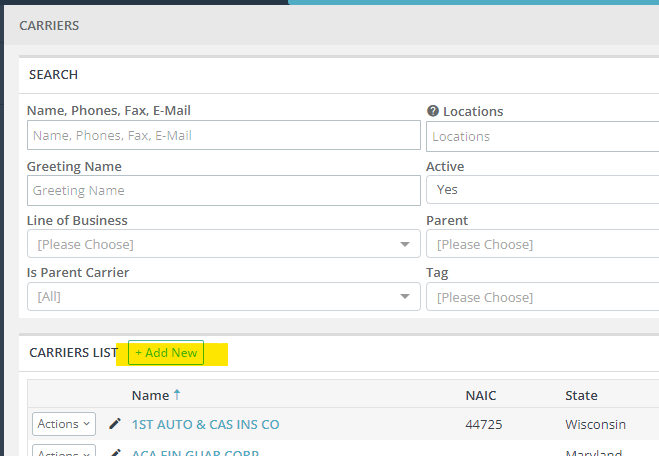
In the main navigation menu, select "Contacts," then click on "Carriers."

2. Click on "Add New" located next to the Carrier List
3. Fill in the required information, which may include:
General and Address: Fill in basic details like the NAIC code, which refers to the carrier's ID for paying the agency.
- Reps: Input the name and contact details of your representative at the carrier. To add multiple reps, click the green [+] button next to "Note."
- Contacts: Enter the carrier's contact information.
- Business/Payment Information:
-
Remit By: Specify the payment agreement with the carrier (e.g., 1st of the month, or 20 days after receiving client payment).
-
Remaining Payments: Typically, "9" is used for commercial policies.
-
Premium Sent: Choose whether the payment is Net (after commission), Gross, or Monthly.
-
- Lines of Business: Add the carrier’s lines of business. Click the green [+] button to add multiple lines.
- Custom Fields: Create custom fields for any additional data that isn’t already covered.
- Agent Carrier Code: Enter the agent codes for this carrier. This will ensure policies and commissions are assigned correctly during carrier downloads or file updates.
4. After entering all the required information, click "Save Changes."
The Import Tool
If you have a list of Carriers that you would like to import all at once, follow these steps:
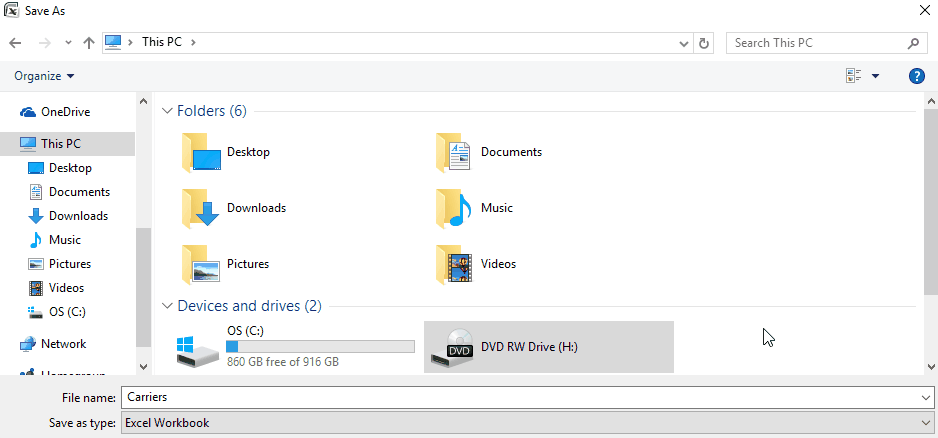
1. Prepare your file. Your file must be in the CSV format (Comma Separated Value format), and the data must have a header in the first row. If your file is in Excel format, open the file and "Save (it) As" a CSV file.
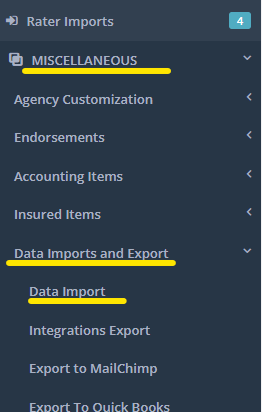
2. From the main navigation menu (on the left), expand the "MISCELLANEOUS" tab down, expand the "Data Imports and Export" tab down, and click on "Data Import."
3. Next to the "Type" field, select "Carriers" from the drop-down menu. Click on "Select" and locate your Carriers CSV formatted file. Then, click on "Upload."
The next screen will help you map your data. For each field in NowCerts, the system will do its best to find the column in your data that matches it. If the system does not pick it up or you think there was an error, use the drop-down menu to choose the correct column that matches your field.
4. Once you complete mapping the fields, click "Generate Import Preview."
5. If/when satisfied with the preview, click "Import Objects."
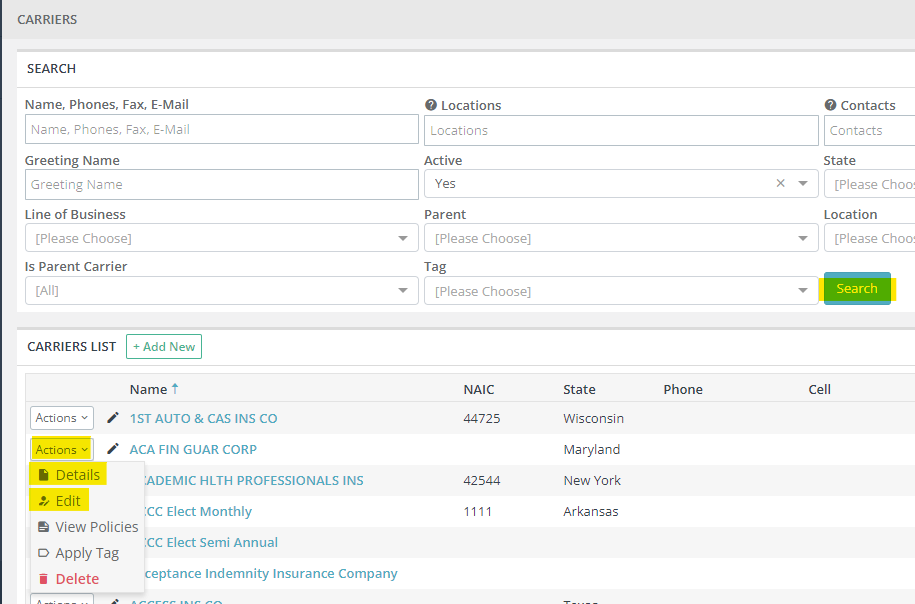
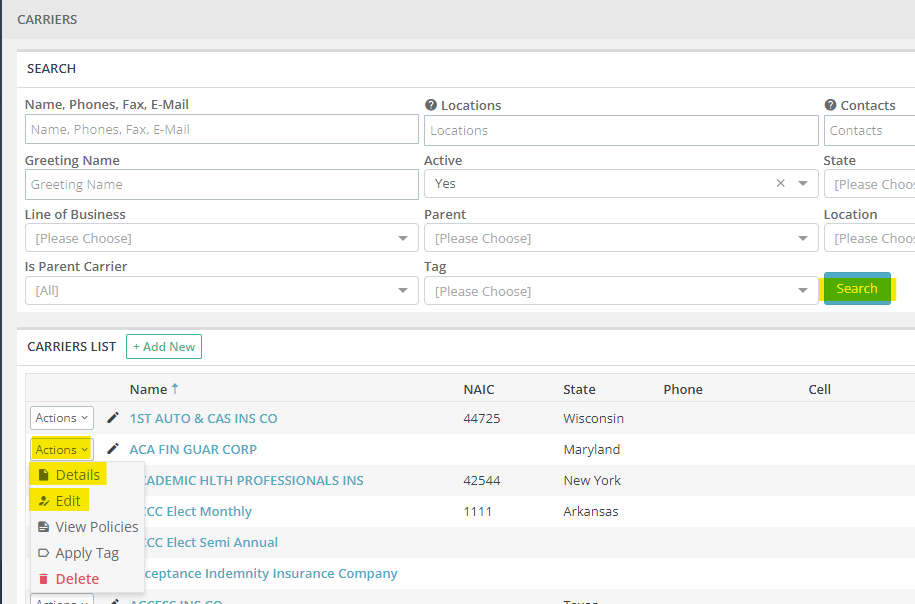
6. Once the import is complete, you may want to go to the "Carriers" page (under the main navigation menu: "Contacts" --> "Carriers"; see step 1 of "Manually" importing Carriers above) and make some additions, such as adding Agent Carrier Codes for one of the carriers. You can do so by clicking on the blue "Search" button, then clicking on the Actions > Details next to the carrier name to view the information imported, or clicking Actions > Edit to begin adding information to the carrier immediately.
Video
