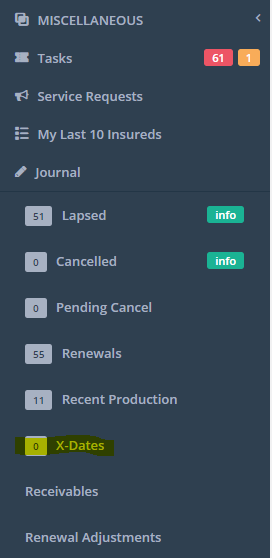
X-Dates and X-Date Notifications
PrintIn the Prospect/Lead details, you need to set the X-dates and the lines of business. To do so, follow these steps:
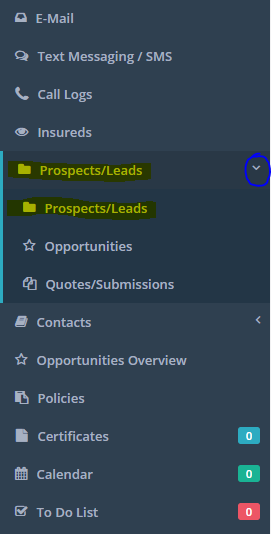
1. From your main navigation menu, click on "Prospects/Leads" and then click on the "Prospects/Leads" sub-category underneath it
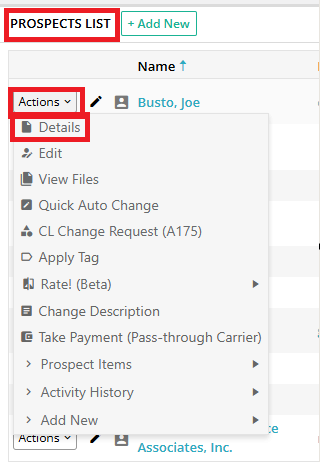
2. Under the "Prospects List," locate your prospect/lead and then click "Actions" > Details button next to their name
3. On the prospect's "Details" page, click on the Edit button located just under your agency menu

4. Scroll down to the "Custom X-Dates and Lines of Business" field (it should appear to be minimized) and expand it downward. Then, fill out the field.

5. Don't forget to click on the blue "Update" button to save your changes
Then, in the Agency's "Profile," you will need to set the Notification Settings for X-Dates. To do so, follow these steps:
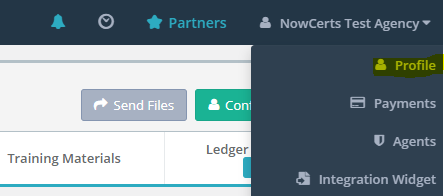
1. From your agency menu, click on "Profile"
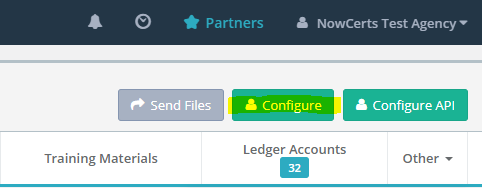
2. Click on the green "Configure" button located just under your agency menu
3. Scroll down to the "Notification Settings" field (it should appear to be minimized) and expand it downward
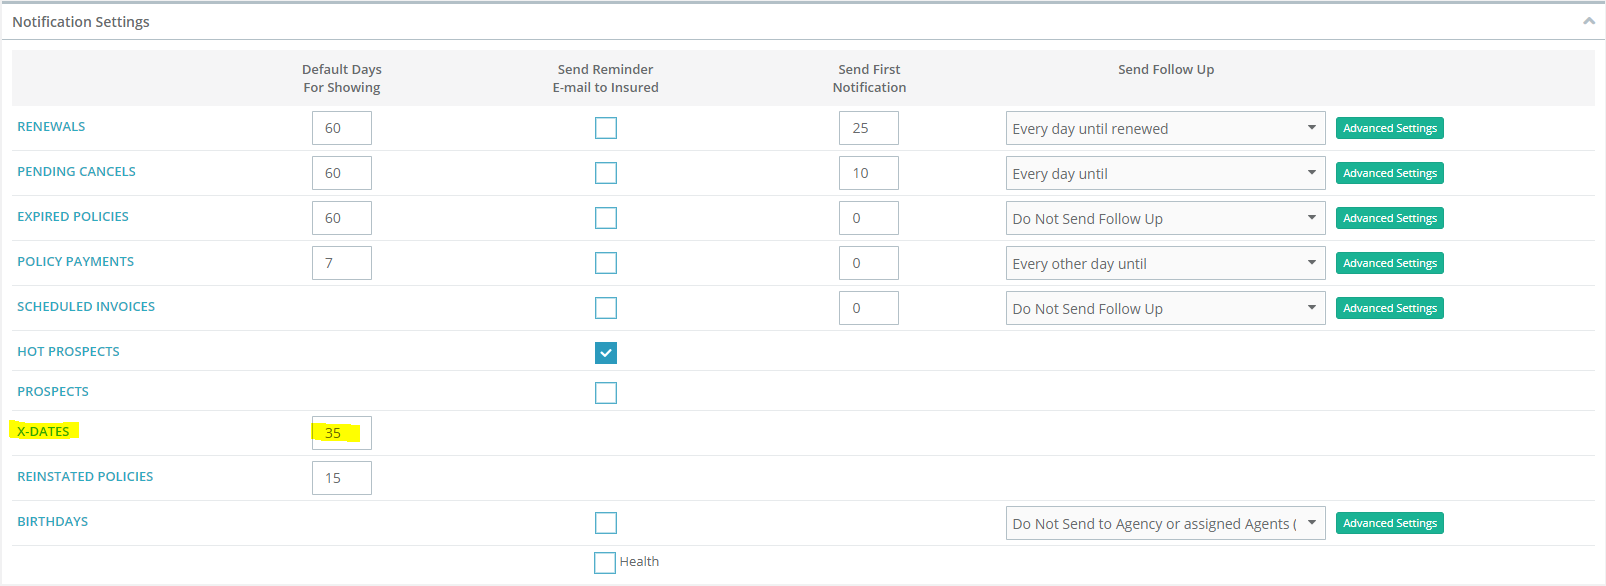
4. In the text box next to "X-Dates", input a number of days (until) that you should start receiving notifications about X-Dates
4. In the text box next to "X-Dates", input a number of days (until) that you should start receiving notifications about X-Dates5. Don't forget to click on the blue "Update" button to save your changes
5.Now, the system will send you an email when X-Dates are in range. Also, you have access to reports of X-dates, as well as a convenient counter of X-Dates in range located at the very bottom of your main navigation menu.
reports of X-dates, as well as a convenient counter of X-Dates in range located at the very bottom of your main navigation menu.

