
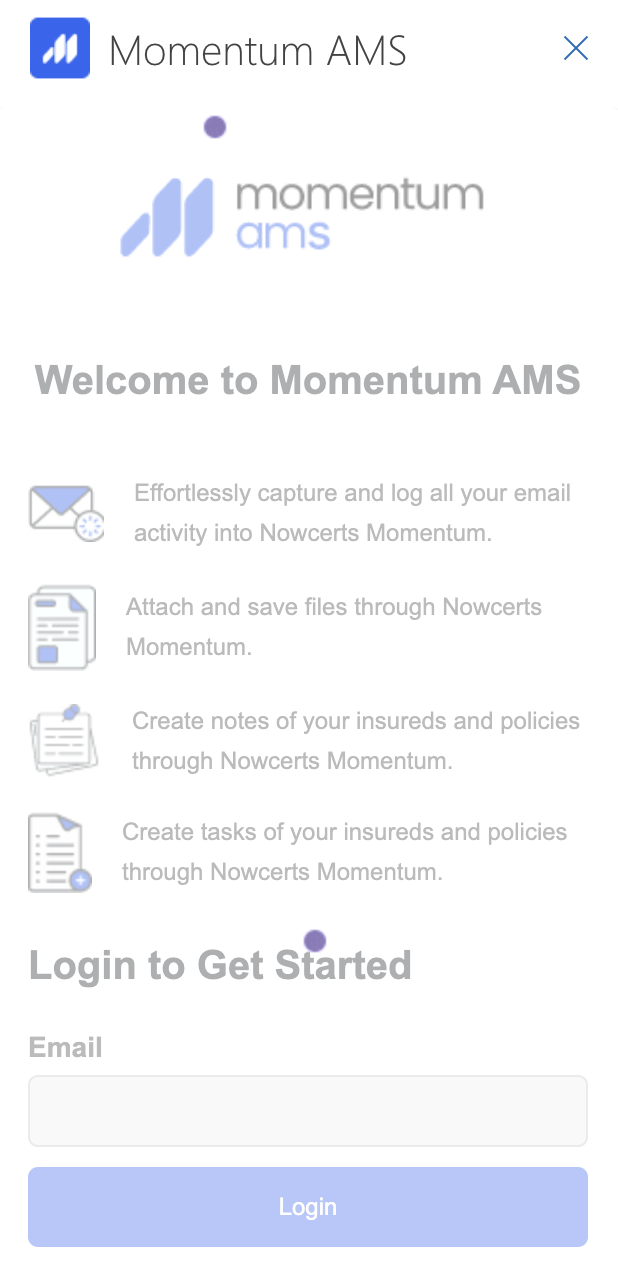
Learn to install and use the Momentum Mail Outlook Add-In to manage insureds, create tasks, and get AI-powered email insights—all from your Office 365 inbox.
✅ Installation Steps:
Step 1: Log into your Office 365 email via Outlook (Web version recommended).
Step 2: Open any email in your inbox.
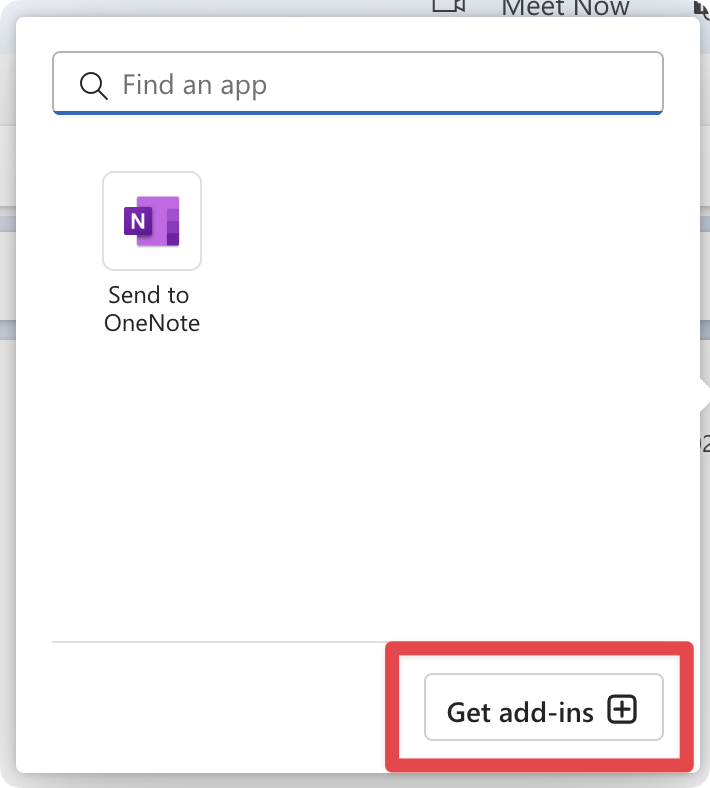
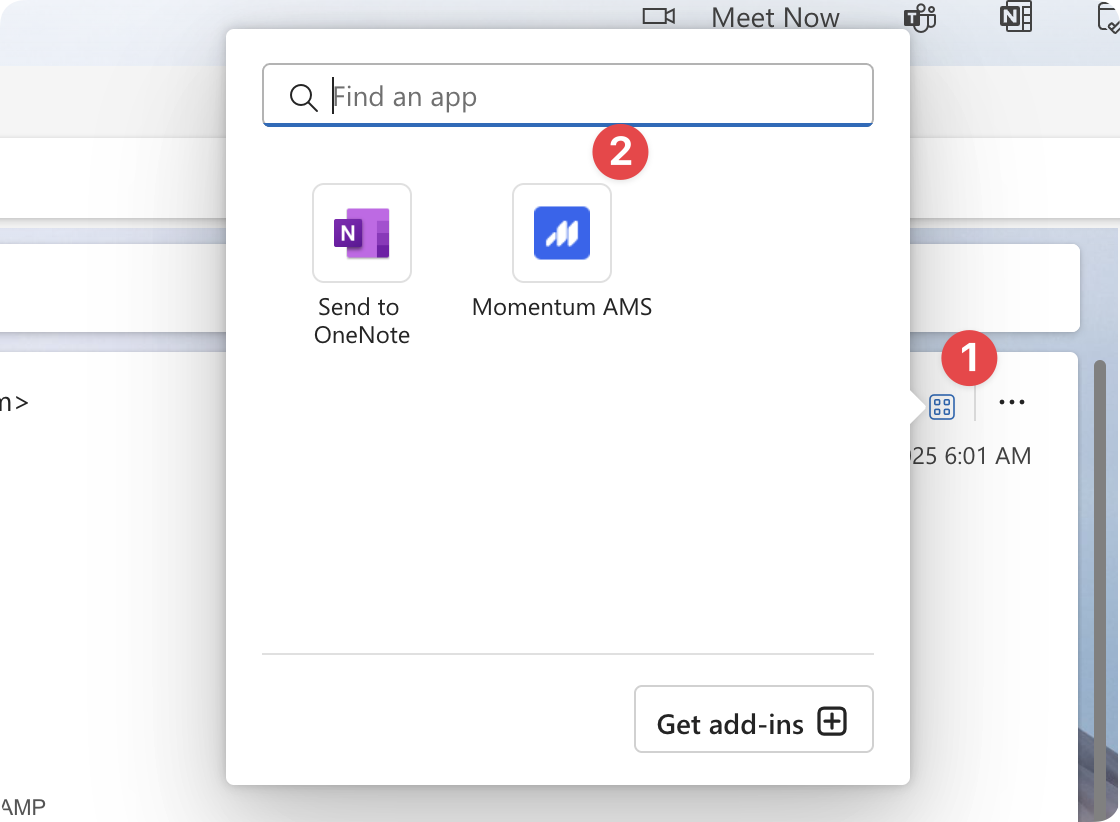
Step 3: On the right side of the email, click the Apps icon (Four squares arranged in a square).
Step 4: Click the “Get Add-ins +” button — this will redirect you to the Add-ins menu.
Step 5: In the Add-ins window, click on “My add-ins” in the left sidebar.

Step 6:Scroll to the bottom and click “+ Add a custom add-in” > “Add from file…”
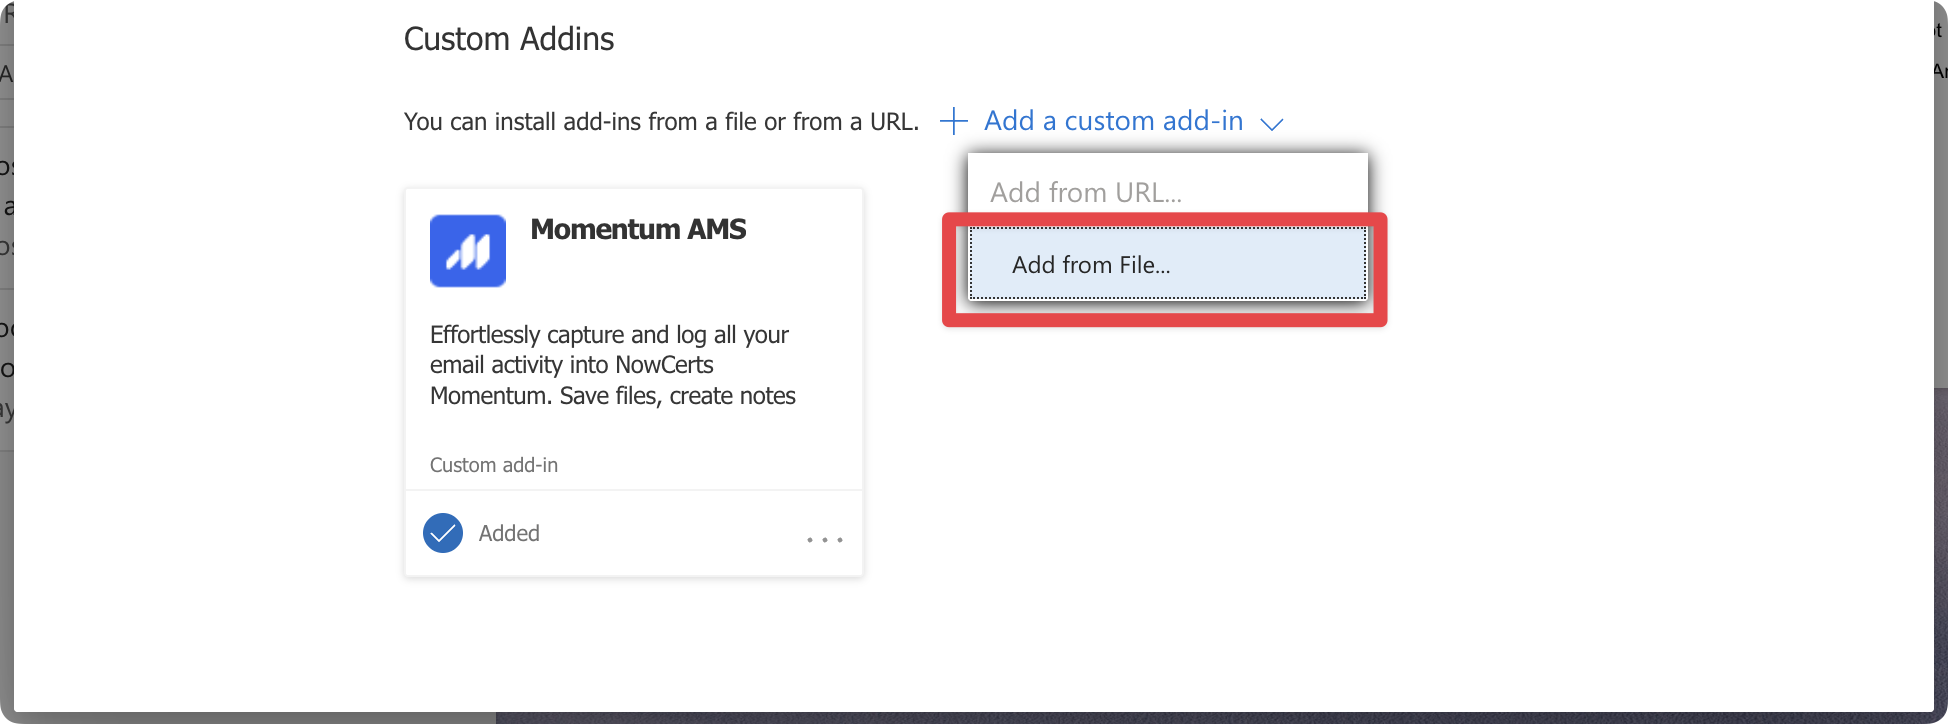
Step 8: Click Install to complete the setup.
Step 9: You’ll now see the Momentum Mail icon in your Outlook toolbar when viewing emails.
🚀 How to Use
Step 1: Launch the Add-In
- Open any email in your inbox.
- Click the Apps icon (Four squares) on the right-hand side of the email.
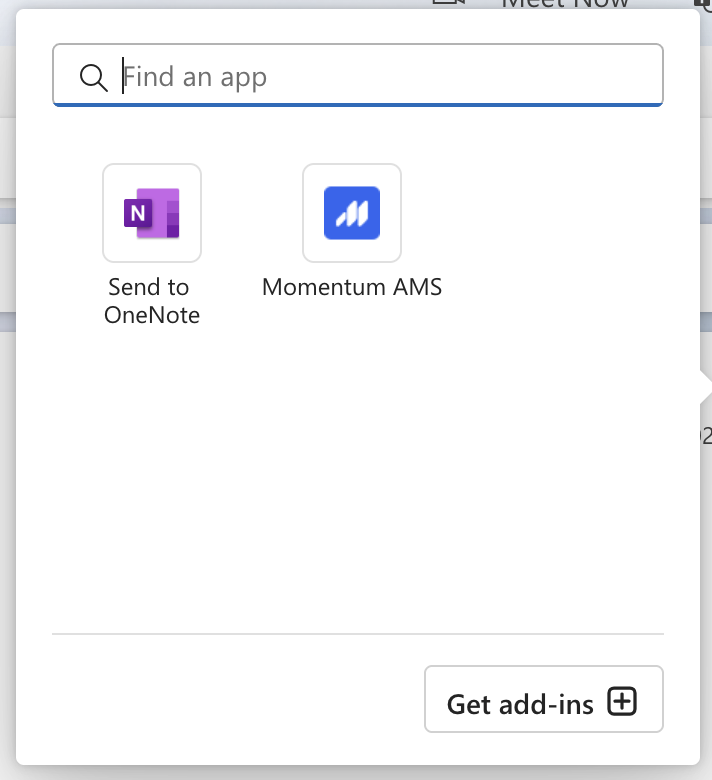
- From the list of available apps, click on Momentum AMS.
Step 2: Log In
- The app will prompt you to log in using your Momentum AMS credentials.
- Once logged in, you’ll see the main Momentum Mail interface.
Step 3: Navigating the Add-In
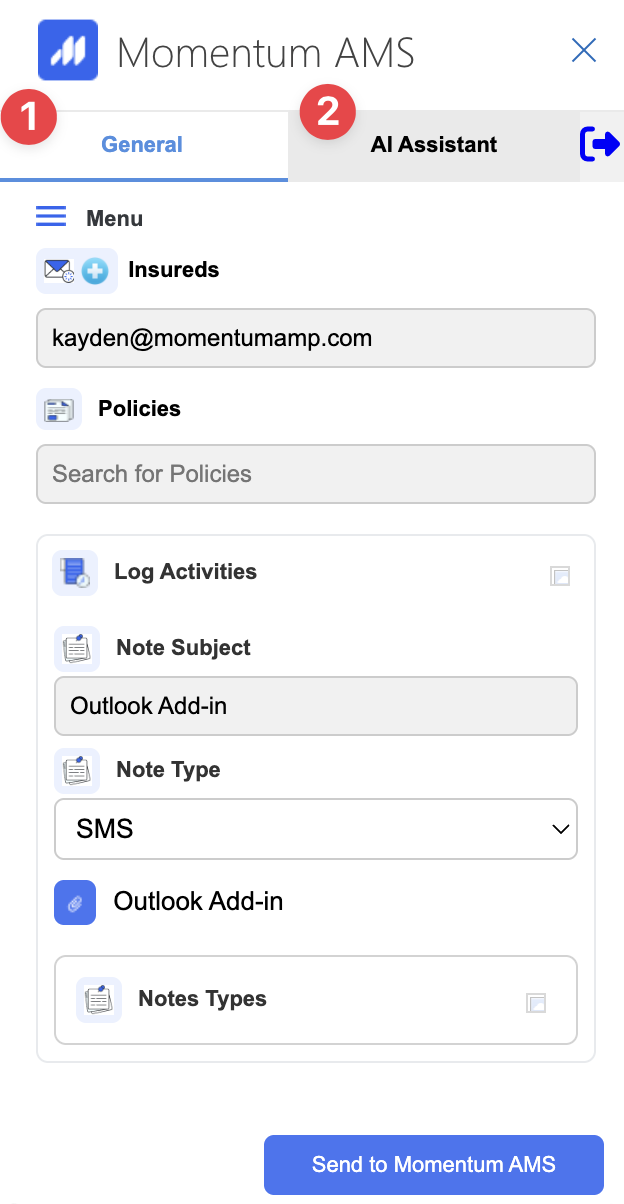
- General Tab
- Automatically searches for the Insured associated with the email.
- If no match is found, a “+” button will appear to add the sender as an Insured.
- You can search manually by name or email.
- Once selected, you can link policies, create tasks, and add internal notes.
- AI Assistant Tab
- Scans your mailbox using AI to detect key email types (e.g. certificate requests, quote inquiries, etc.)
- Detected emails will trigger notifications inside both the add-in and your Momentum AMS dashboard.
- To enable this feature, you must grant permission by checking the box provided.
Step 4: Configure Settings
- After granting permission, you’ll see the Settings tab
- Choose which types of emails you want the AI to recognize
- Enable Auto Task Creation – e.g., automatically create a task when a certificate request email is received
- Option to pause syncing anytime.
Step 5: View Notifications
- In the Notifications tab, you’ll see a list of emails the AI has recognized
- Click any notification to view an AI-generated summary of the email.
- From this summary screen, you can also create a task instantly.
That's it! You're now ready to utilize the features of Momentum Roam!