
To integrate Formstack with your Momentum AMS account, follow these steps:
-
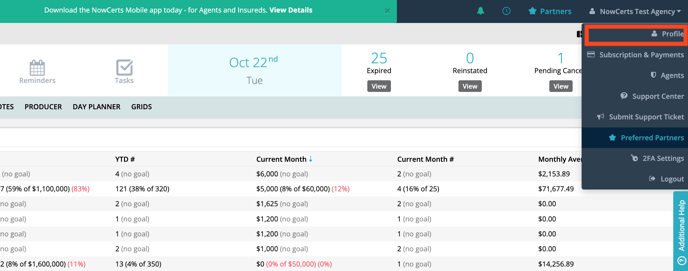
From your agency menu, click on "Profile" or "Agency Profile" if you are signed into an agent account.
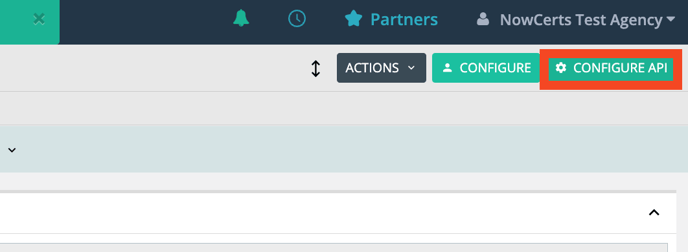
2. Click on the green "Configure API" button located just below your agency menu
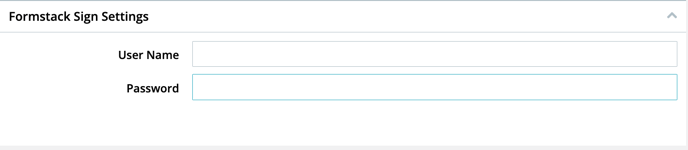
3. Scroll down to the "FormStack Settings" field, enter your Formstack username and password, and then click on the blue "Update" button. Your accounts are now linked!
To use the Formstack integration, follow these steps:
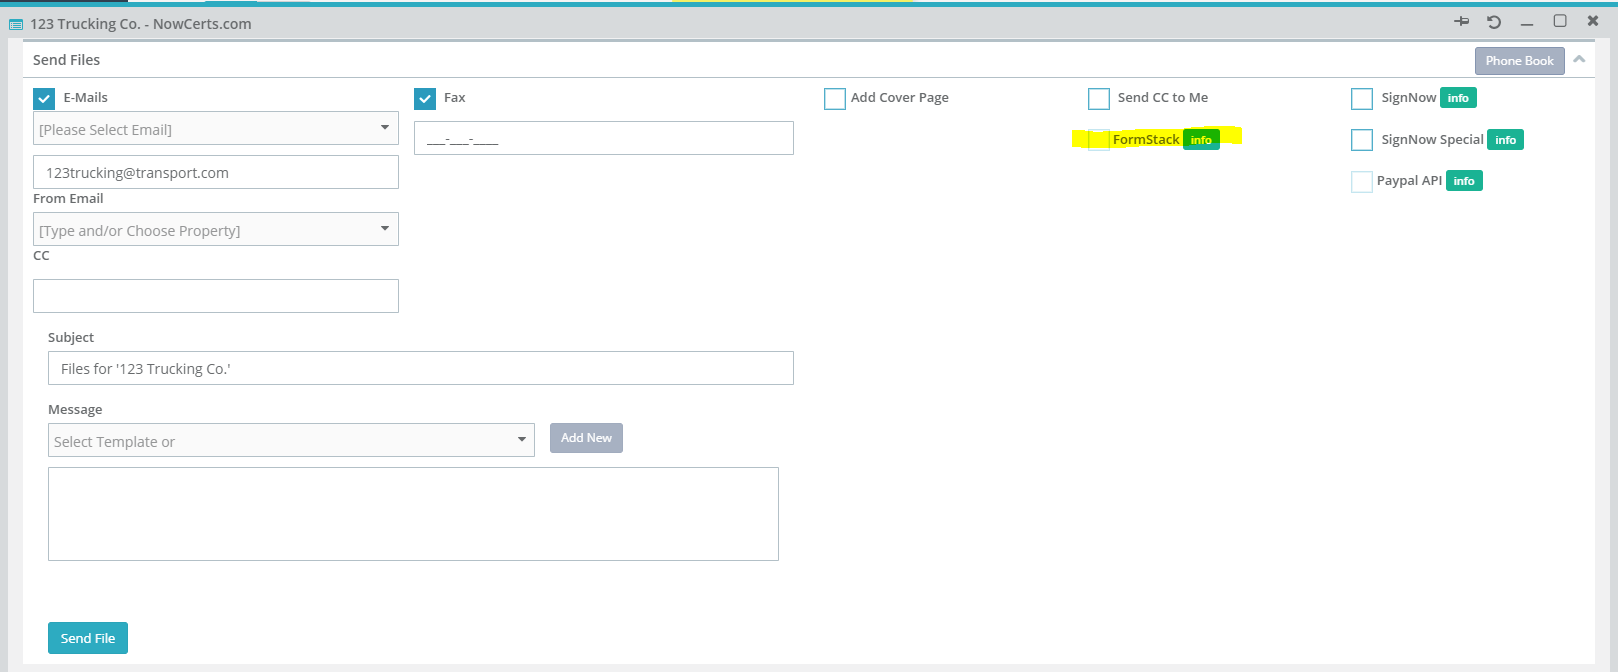
1. Navigate to a client's "Details" page

2. Send a file/form. You will see a checkbox to select "FormStack" when sending files out.
Once you click on "Send File," you will be greeted by a Formstack log-in page where you can enter your Formstack credentials.
If the file(s)/form(s) was sent successfully, you will see this message appear at the bottom of the page, and you will be able to click into your Formstack portal:

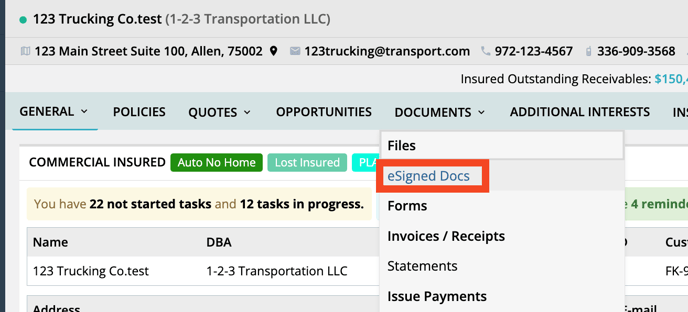
Once everything is completed and the document is sent out, you will be able to view/download document details from the "e-Signed Docs" page found in the insured's "Details" page under the "Documents" tab.
If you prefer a video: