
- Momentum AMP Support Center
- Momentum AMS Support 2
Changing Your DNS to Google
Changing Your DNS to Google
- Open the Control Panel.
- Navigate to Network and Internet.
- Click on View Network and Sharing Center.
- On the left sidebar, select Change Adapter Settings.
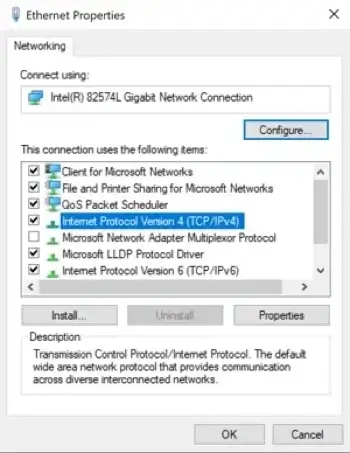
- Right-click on your active network connection (Wi-Fi) and choose Properties.
- Highlight Internet Protocol Version 4 (TCP/IPv4) and click on Properties.
- In the bottom section, choose Use the following DNS server addresses.
- Enter
8.8.8.8in the Preferred DNS server field and8.8.4.4in the Alternate DNS server field.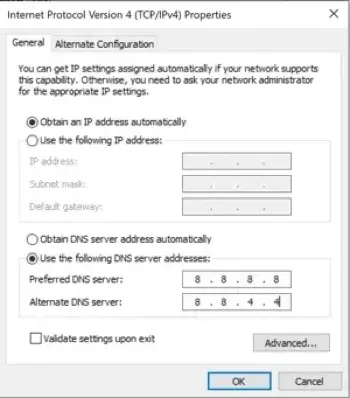
- Click OK to save the changes.